Gallery |
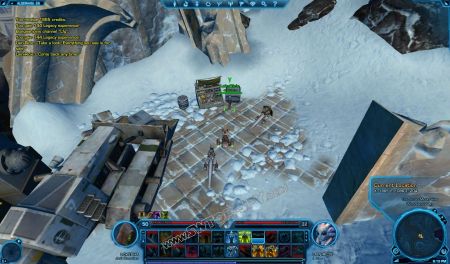
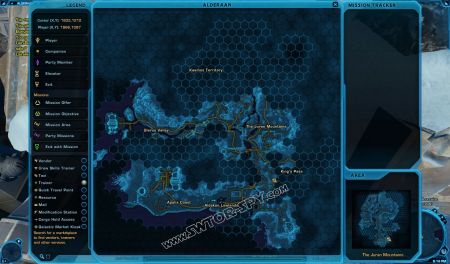
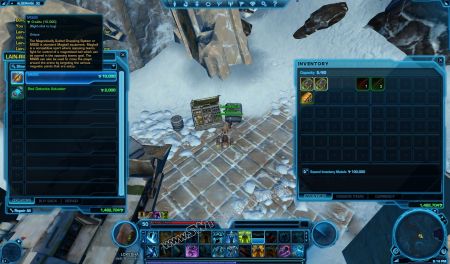
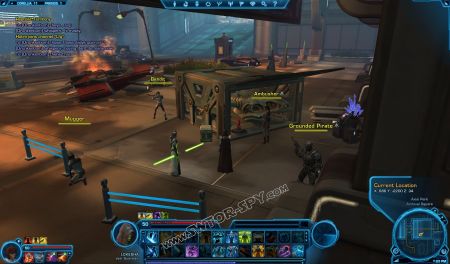
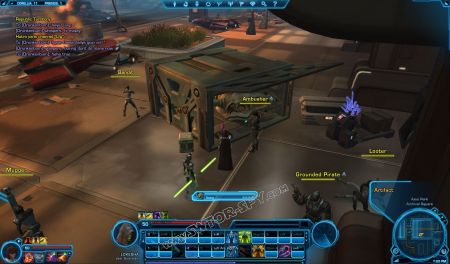
Vendor in Alderaan sells The Magnetically Guided Grappling System ( MGGS). |
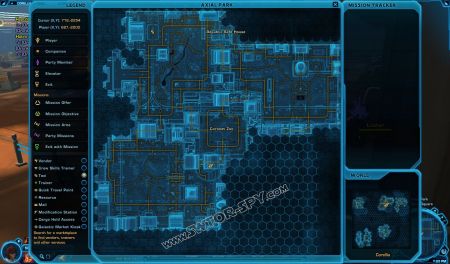
Vendor in Alderaan sells The Magnetically Guided Grappling System ( MGGS). (map view) |
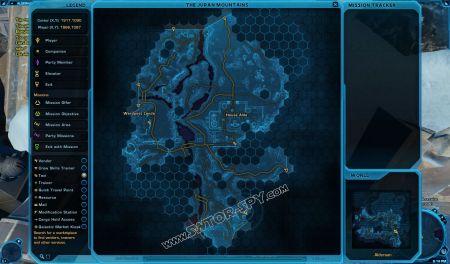
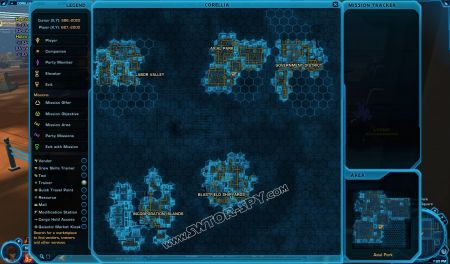
Vendor in Alderaan sells The Magnetically Guided Grappling System ( MGGS). ( global map of Vendor exact location ) |
The Magnetically Guided Grappling System ( MGGS) |
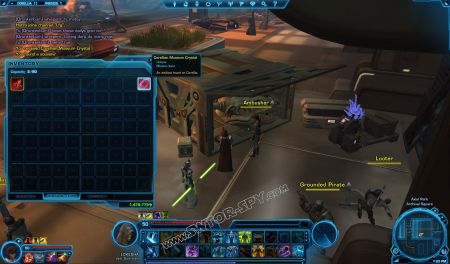
Location of Corellian Musem Crystal (CMC) at Corellia. |
Corellian Musem Crystal (CMC) (map view). |
Corellian Musem Crystal (CMC) ( global map of Corellian Musem Crystal exact location ) |
Corellian Musem Crystal (CMC) |
Corellian Musem Crystal (CMC) |
Cormium Crystal Shard (CCS)
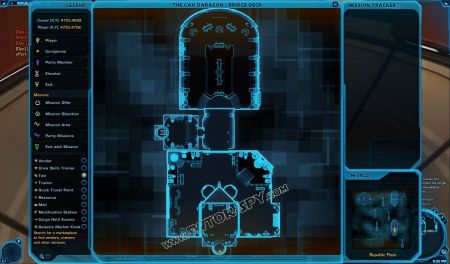
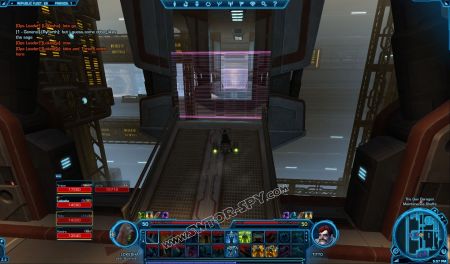
For Republic: go to The Gav Daragon -> Bridge Deck -> Museum (far south)
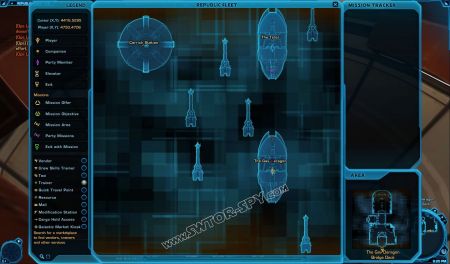
For Empire go to Ziost Shadow Shuttle -> Bridge Deck -> Museum (North East ) |
Cormium Crystal Shard (CCS)
For Republic: go to The Gav Daragon -> Bridge Deck -> Museum (far south)
For Empire go to Ziost Shadow Shuttle -> Bridge Deck -> Museum (North East )
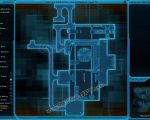
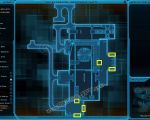
( map view ) |
Cormium Crystal Shard (CCS)
For Republic: go to The Gav Daragon -> Bridge Deck -> Museum (far south)
For Empire go to Ziost Shadow Shuttle -> Bridge Deck -> Museum (North East )
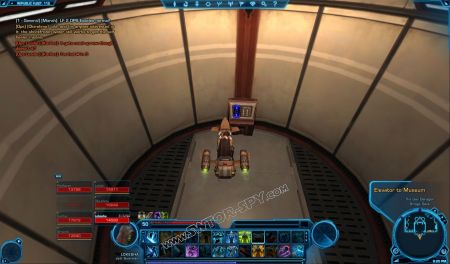
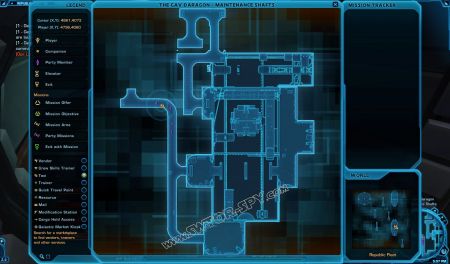
( global map view of exact elevator to the Republic museum ) |
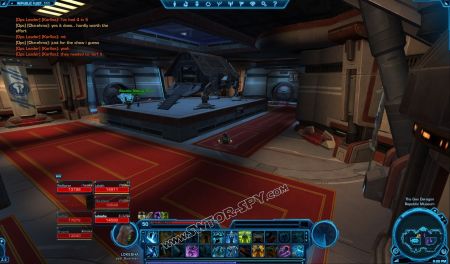
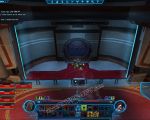
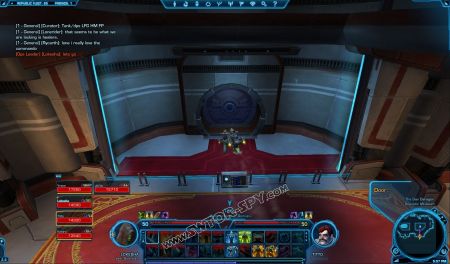
In the Museum, get inside this vehicle. As a Republic you can easily jump on the vehicle with your speeder. As an Empire, you need to die from a laser located on the right side when you enter the museum by using Target controls next to a laser. On the top of the vehicle is Medical Droid, so use the option return to medcenter after dying. |
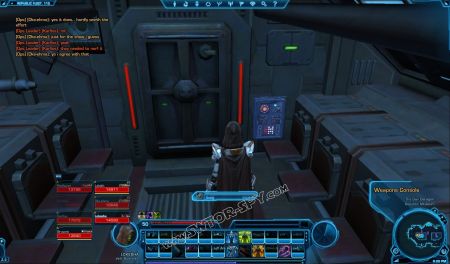
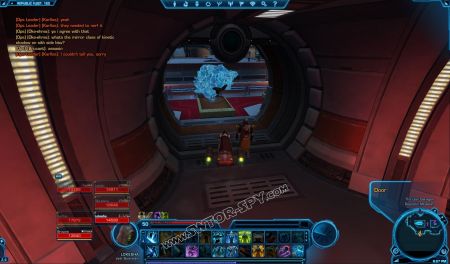
When you get inside the vehicle, click on the weapons console, that will destroy the door in front of the vehicle and open the doorway to Cormium Crystal Shard (CCS). |
Proceed through the door and follow the hallway straight ahead towards the Loose Cormium Crystal. |
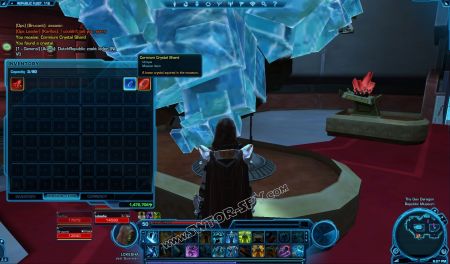
Get the Cormium Crystal Shard (CCS) . |
When you collect all the items, go to the Maintenance shaft. |
How to get to the Maintenance shaft?
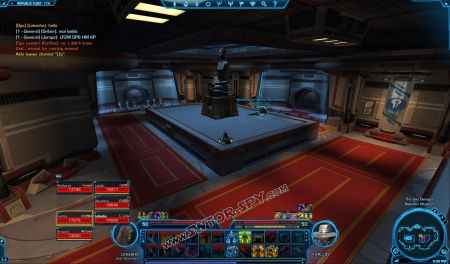
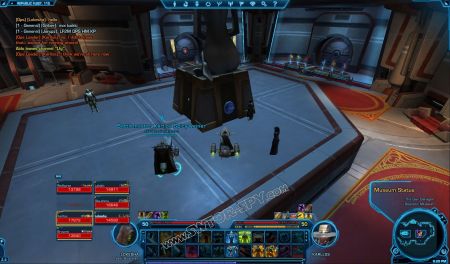
1. Climb on the Museum statue platform (it’s on the left side when you enter the Museum) |
2. At the base of the statue there is a panel where you should insert the Corellian Musem Crystal (CMC). This will enable another clickable panel to disable the power wall. |
When you disable the power wall, go through the door and enter the Maintenance Shaft. |
Now comes the tricky and hard part. |
You should go to the other side, but first you need to enable the bridge. |
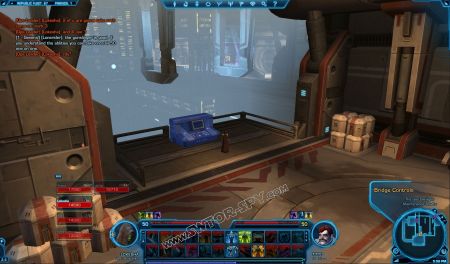
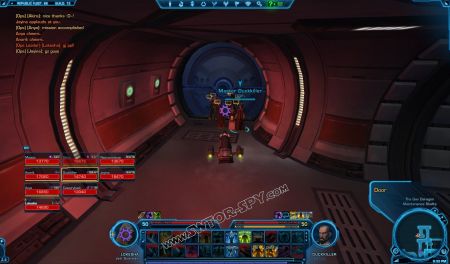
In order to enable the bridge, you should click on any three Bridge Controls at the same time (there are 6 Bridge Controls). |
There are 3x Bridge Controls on the both sides. |
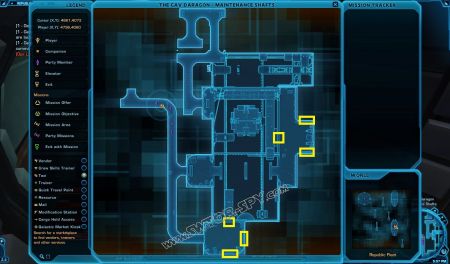
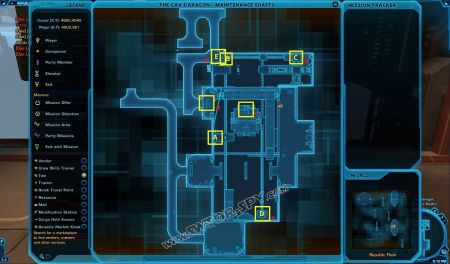
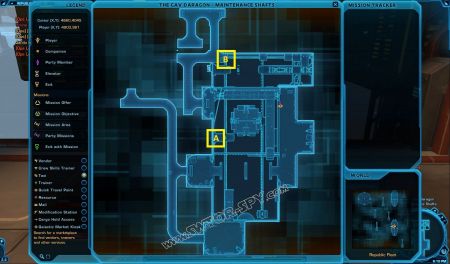
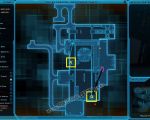
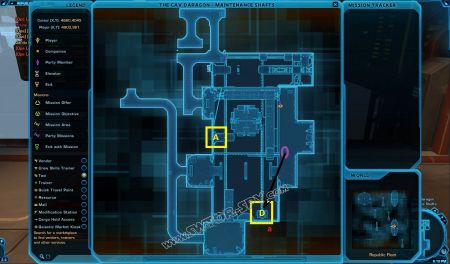
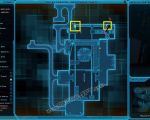
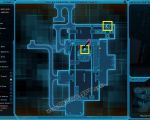
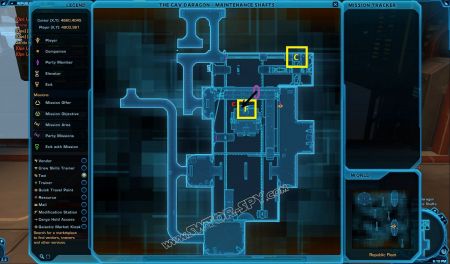
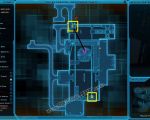
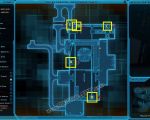
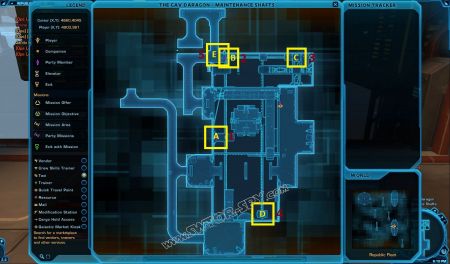
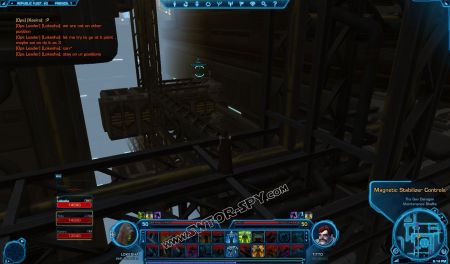
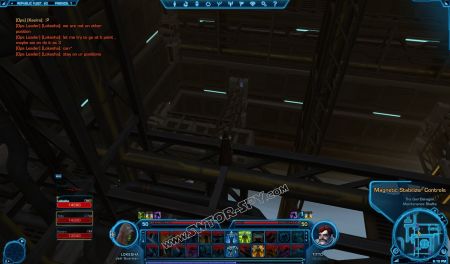
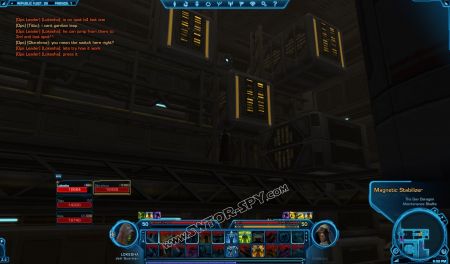
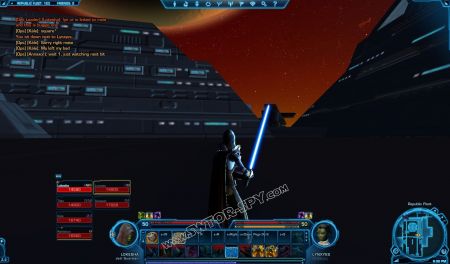
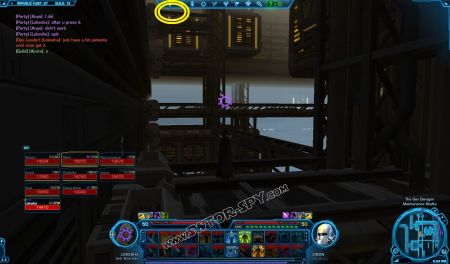
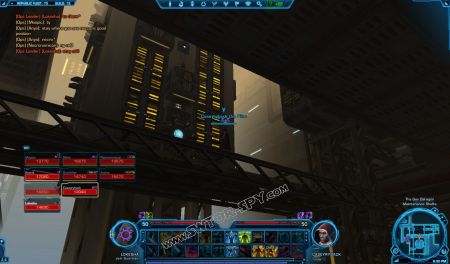
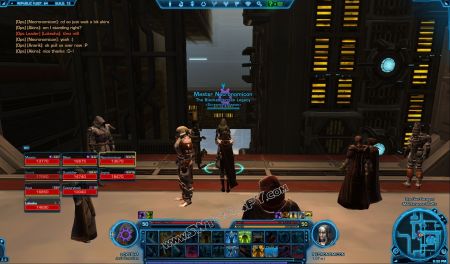
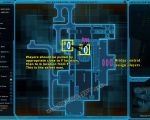
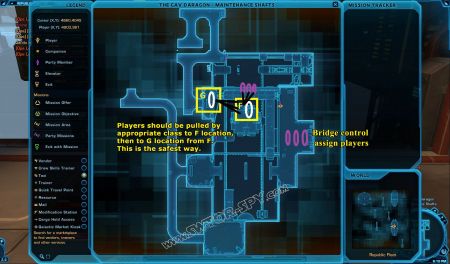
When you finally cross the bridge, the best places to position the group are shown in the screenshot above. (it’s very easy to come to the position A and B, while other players can go to their positions only when their Magnetic Stabilizer Controls (MGS) are turned on) |
A-position of person 1
a-MGS turned on by a MGS panel at position A
B-position of person 2
b-MGS turned on by a MGS panel at position B
C-position of person 3
c-MGS turned on by a MGS panel at position C
D-position of person 4
d-MGS turned on by a MGS panel at position D
E-position of person 5
e-MGS turned on by a MGS panel at position E |
How does this work actually? Get 2 people on position A and B. |
Person located at position A, should press the MGS control panel that will allow one of your group members to get to the position D. |
Person located at position B, should press the MGS control panel that will allow one of your group member to get to the position C. |
Person located at position C should press the MGS control panel that will allow one of your group members to get to the position F. |
Person located at position D should press the MGS control panel that will allow one of your group members to get to the position E. |
When the players are in their positions A, B, C, D and E, they should press their panels in the given order 1st-A 2nd-B 3rd-C 4th-D and 5th-E. |
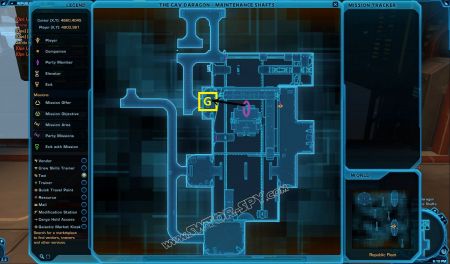
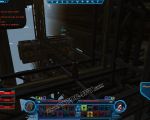
This will open MGS at position G. You can climbe to this position like you did on other positions. From this position you can enter the hallway that leads to +10 stats Datacron (since it can be buggy, the best jumping point is given in the picture above). |
Review of Position A . |
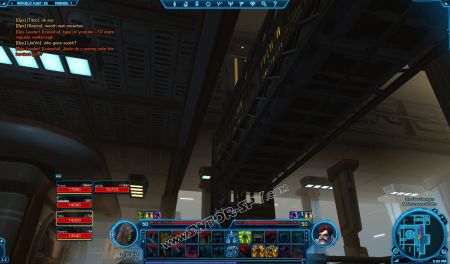
Review of Position B . |
Review of Position C . |
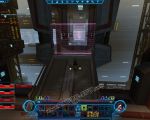
Review of Position D. For Republic this can be bugged. In this moment it’s important to have Smuggler, since he can use his cover abilities in order not to get on the top of the ship. |
Example of the bugged landing position D. |
Review of Position E. |
Review of Position F. |
Review of Position G. |
Scheme. |
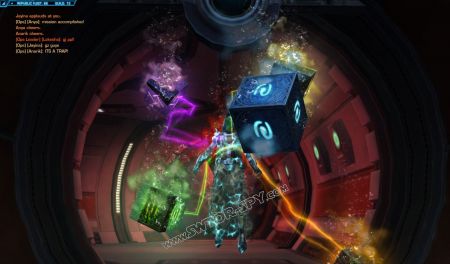
Yay Datacron !!!! |
Great Job !!! |
|










So, my question is, how on earth did the first person find this? Was this just leaked by BW or something? I can understand how some of the datacrons were found by people who love to explore, but this is just nuts.
It should really be noted that it seems you need to be level 45 or higher to obtain this datacron. You can access the area and even get to the door for the datacron, but 45 was the lowest level for those in my group.
Anyone else with a lower level get it?
I’m 31 and about to get it just working our way through the glitches
well my lvl 30 char couldn’t get it and the same with one of our lvl 40s (I think he was over lvl 40…). There seems to be the problem, that you cannot get the CCS as a lower lvl char and therefore not get the datacron (both crystals are needed to enter the datacron room).
Is this only able to be gotten by Jedi or can you purchase these items on sith side as well?
Both sides are able to do this I believe
So this is a +10 to EVERY stat?
Yes, Imperial Fleet and Republic Fleet.
Laser does nothing, have used controls multiple times and it just goes right through you
Vyvin, for Empire, You have to use the trigger hidden in the back left of the target. That redefines the target of the laser on you.
Do it one-three times till u die and you’re done
You don’t have to press A,B,C,and D in order. At the same time works. We have a lvl 45 and he can’t get it. I believe it might be lvl 50 only.
Like all other impossible hidden secret in a game, and you can ask any mainstream game maker about this, somebody with patience and curiosity figured it out. Hell, in an MMO, things like this are usually discovered within a week of them showing up.
You need to be a level 50 to get this datacron.
You can pull directly to G with great probability of success if the one to be pulled is at the first cross section of beams and jumping up and down while sage is the back left corner of second gray tile from right wall looking into fall.
I like games to be fun not obnoxious and stressful. This is way too much work for +10, all data crons are too much work except on the first planets. Bioware would lose less players if they knew what fun was. also, when I die, increasing the probe timer each time is NOT fun.
I think doing this stuff is a good change of pace and you’re not required to do it anyways so just don’t do it if it’s too much work for you
It is required, because if you do not get them you will have a permanent stat gimp compared to other players. If it were truly optional, it would not have rewarded something that could only be obtained this way. I’ve never enjoyed jump puzzles, they are worse in SWTOR because the controls/engine was not designed for jump puzzles so it’s needlessly frustrating for those who do not enjoy it.
Don’t be ridiculous. +10 is not a “stat gimp” when your primary stat and endurance are in the thousands, and your presence (the only other one that matters even a bit) is in the hundreds by the time you’re level 50. All the datacrons are fluff, not a requirement.
My raid leader disagrees with you, but to each his own.
Positions D & E are marked wrong on your maps. D up more just above the right connection to the bridge. Position E is also down more next to the Door to the datacron.
Position ‘E’ is unnecessary. We found that once you get a person at each of the others, you can toggle all of them at once and the last one will light up, allowing you to get there from position ‘F’. If you have a Sage/Sorcerer you can get him/her to the last place and he/she can pull people up from the girders below
Its worth to try a flagship transport with the first person arriving at “G”. Flagship transport is said to be blocked in this area, but it still worked for us two times and was only blocked after 2 transports.