The Colicoid War Games Flashpoint is open to both factions and designed for players level 37-41. The Flashpoint is unconventional; it’s an open air Flashpoint where good visibility is guaranteed and it also contains events that are not classic Boss fights. Technically, there are three events, but only one is a classic Boss fight. I have to admit this is one of the most interesting Fleshpoints in the game, and the question is why its mechanics are not implemented in other Flashpoints.
The first event is not the regular sort of fight where you have to defeat 2-3 champion mobs and loot the items, but, for a change, consists of defeating the wave of adds running towards you in large numbers. The only way to defeat them is by using 4 Plasma Cannons in the area. This is only the first phase! There is also a second phase where you have to defeat the same mobs, but they are bigger and scarier.
The second event consists of two puzzle phases on two separate platforms. The important thing about this special event is the fact that there are mobs that can knock you back from the platform, which makes another in a series of interesting details, namely because there is also the possibility for you to knock them off as well. You should solve the puzzle to get to the loot, which leads you to the final event. The final event is a classic Boss fight that is more a reward for your efforts than a challenge.
Location
-

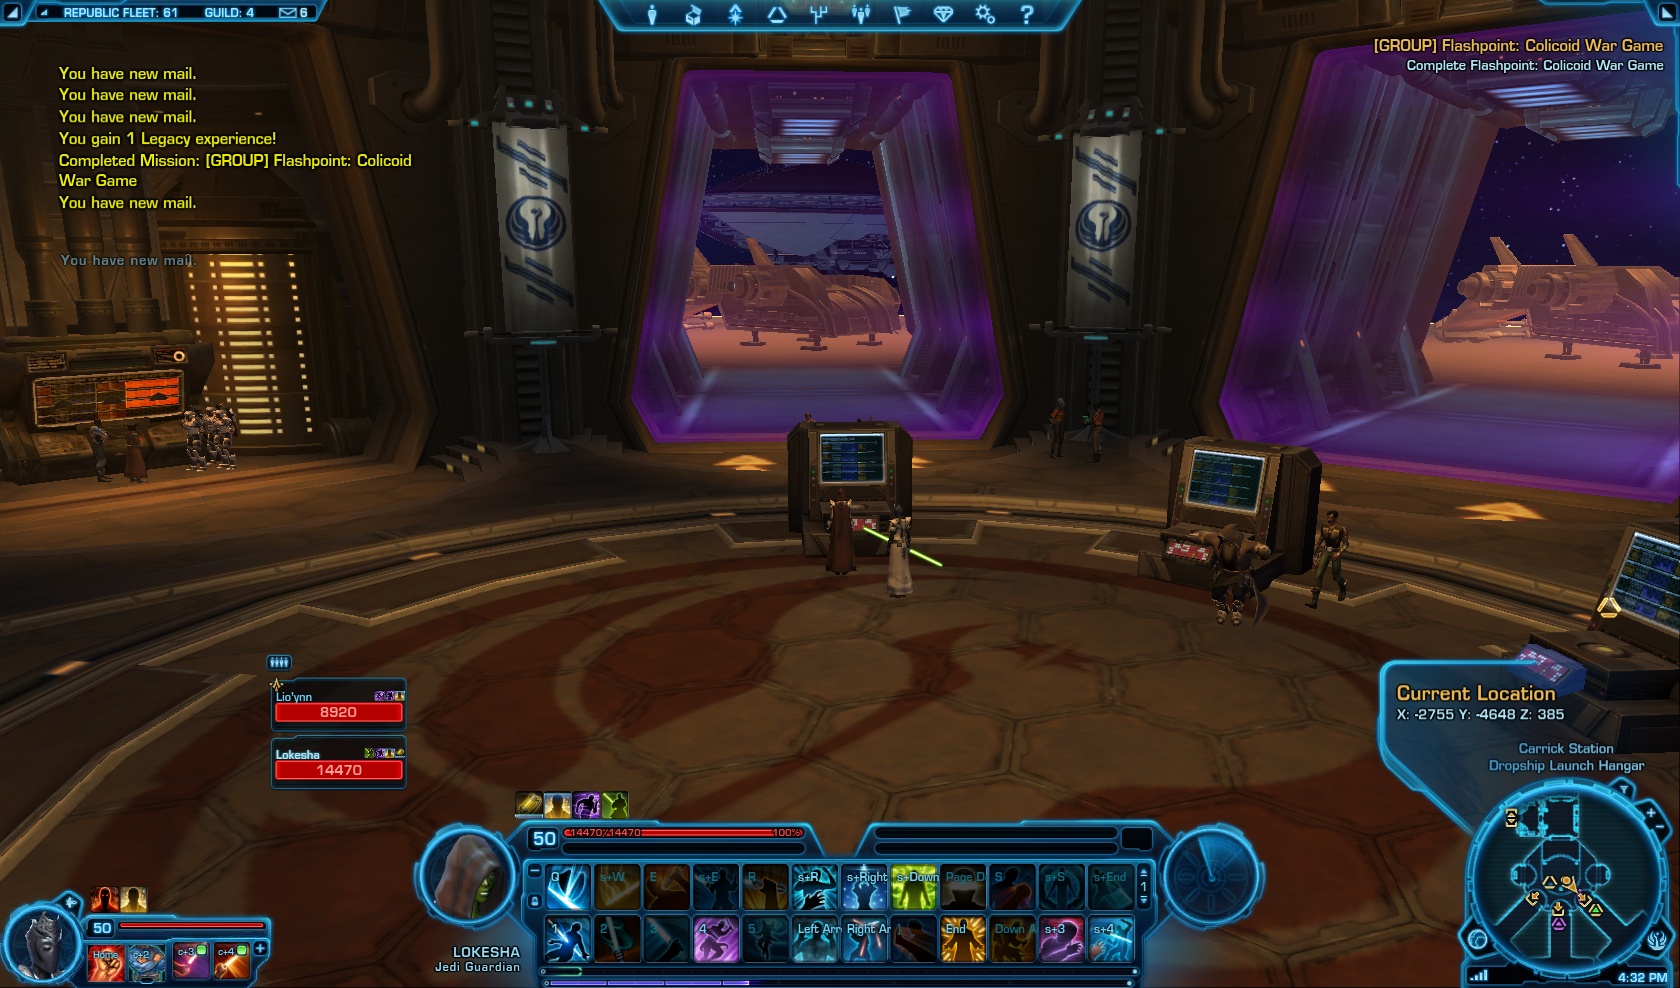
- Colicoid War Game Location
-

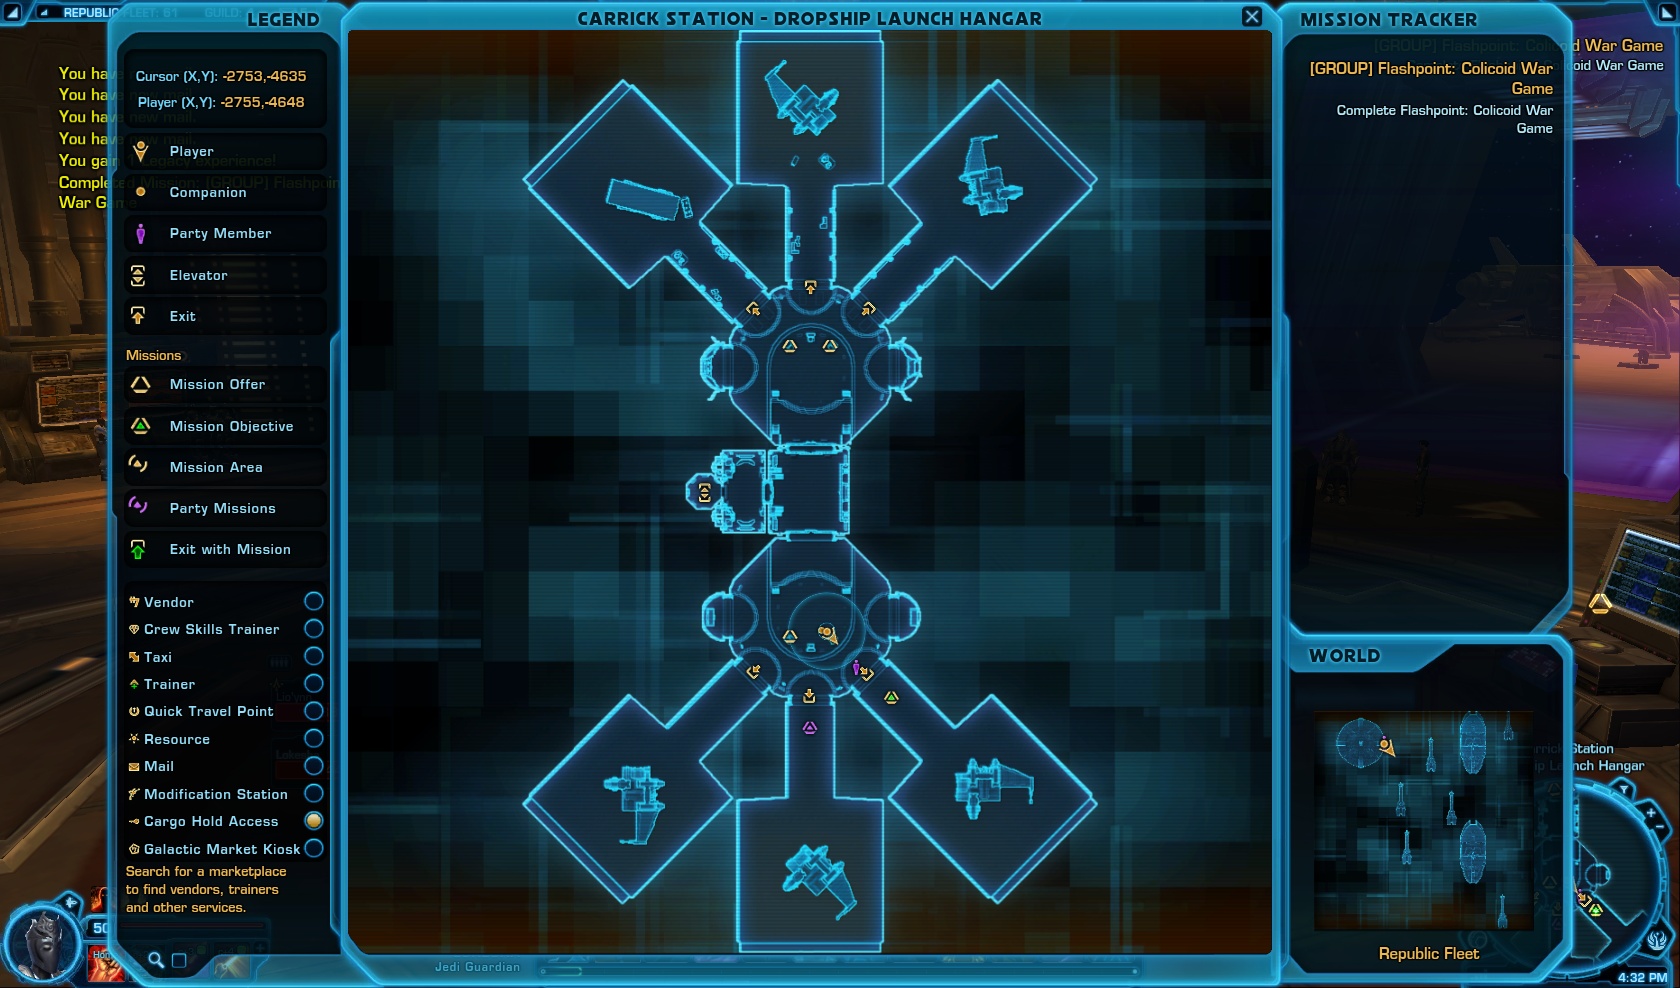
- Colicoid War Game Map
-

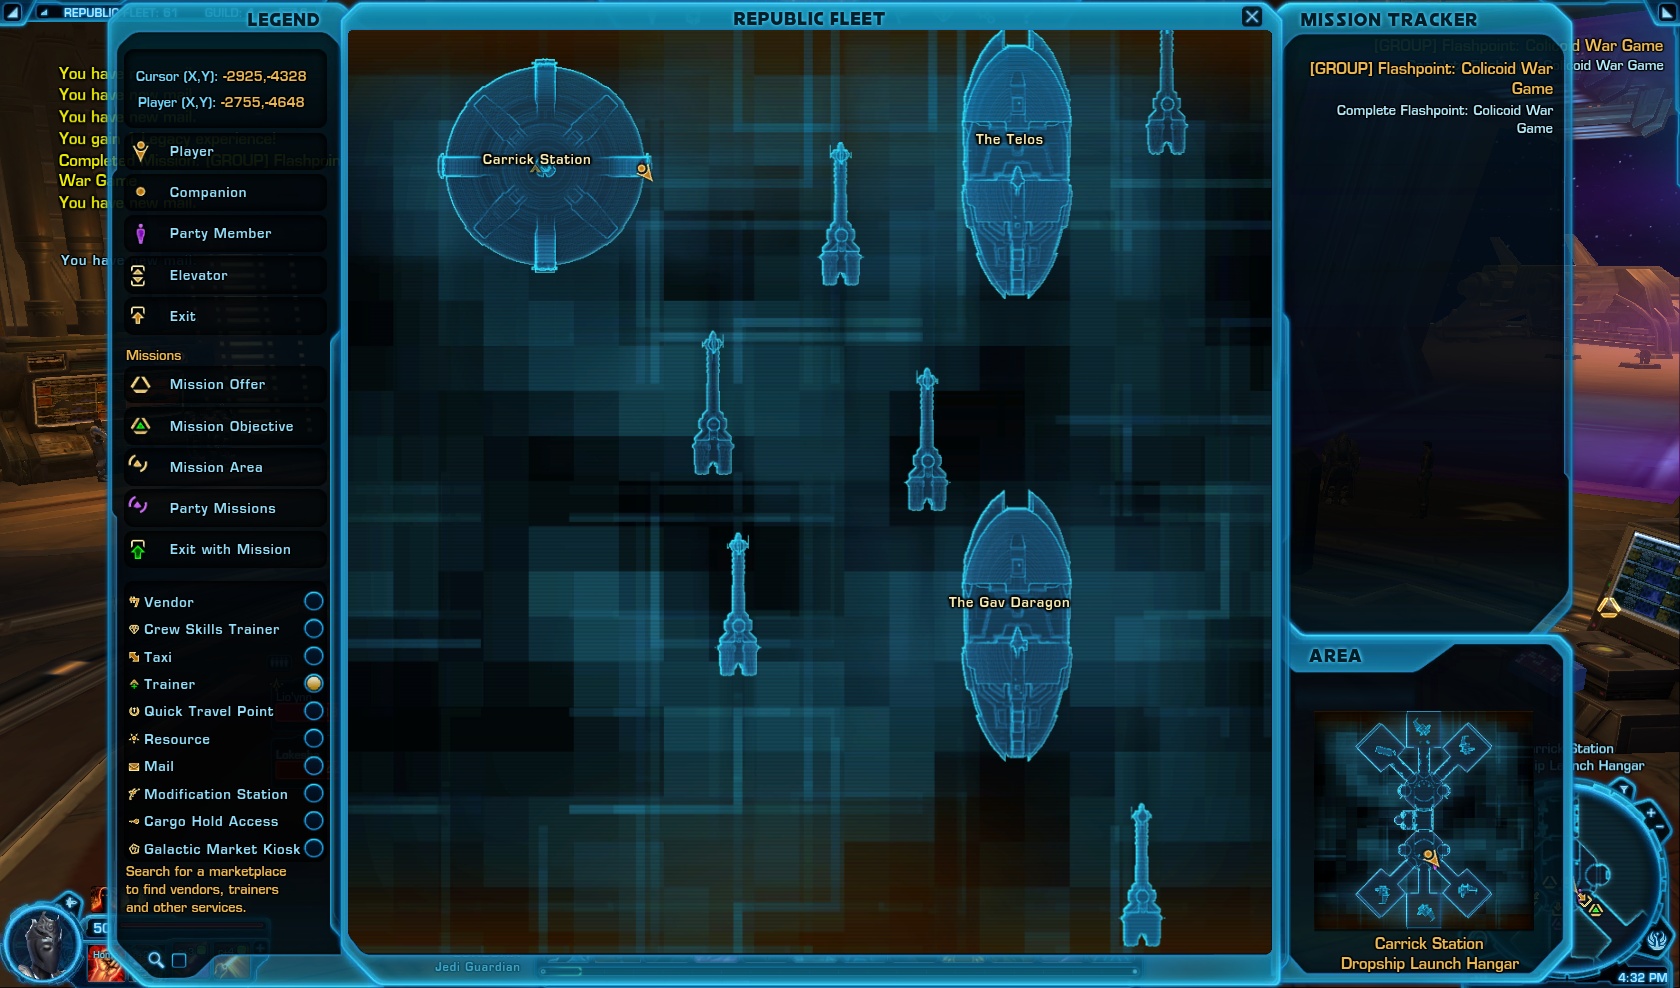
- Colicoid War Game World Map
Dark/Light Side Alignment Options
Just before the last boss, during the ‘Use the Registration Computer’ part of the [Flashpoint] Colicoid War Games mission, you will have the option to kill or spare the enemies. Each option grants you +100 Dark/Light side points.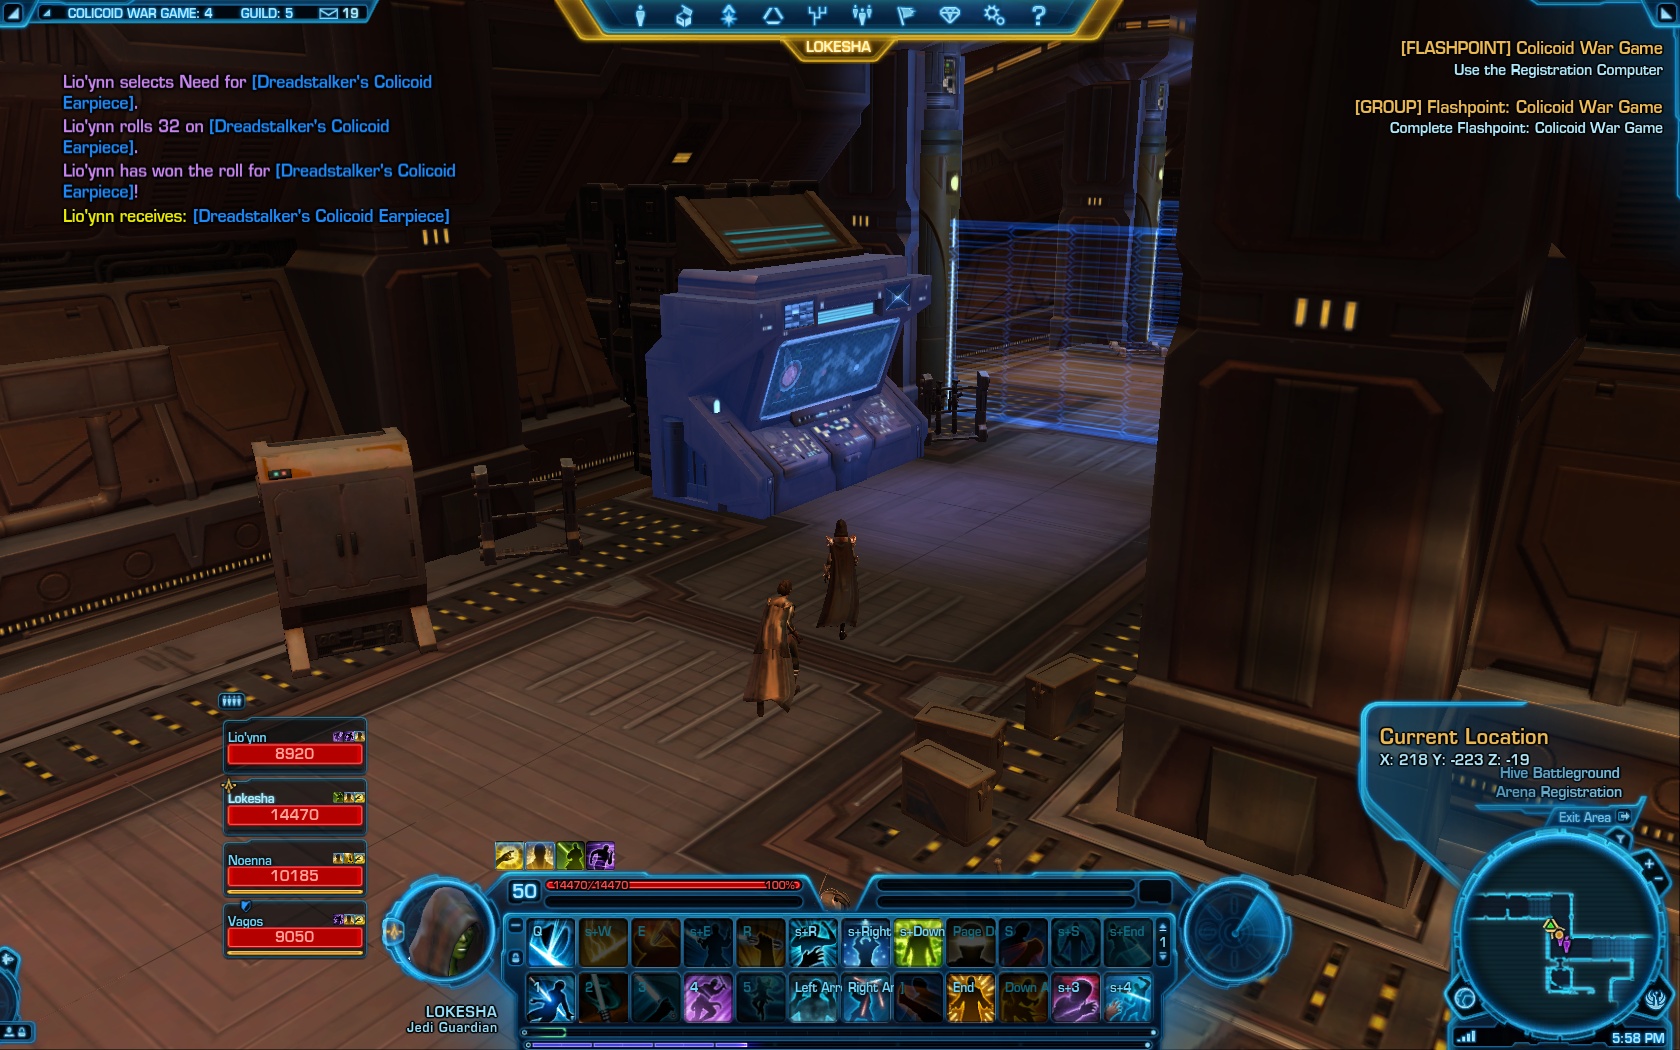

Main events
- Survive Colicoid Atack Waves ( 2 phases )
- Complete the Hazard Course ( 2 puzzle phases )
- Annihilator 6K-A2
1. Survive Colicoid Atack Waves (2 phases)
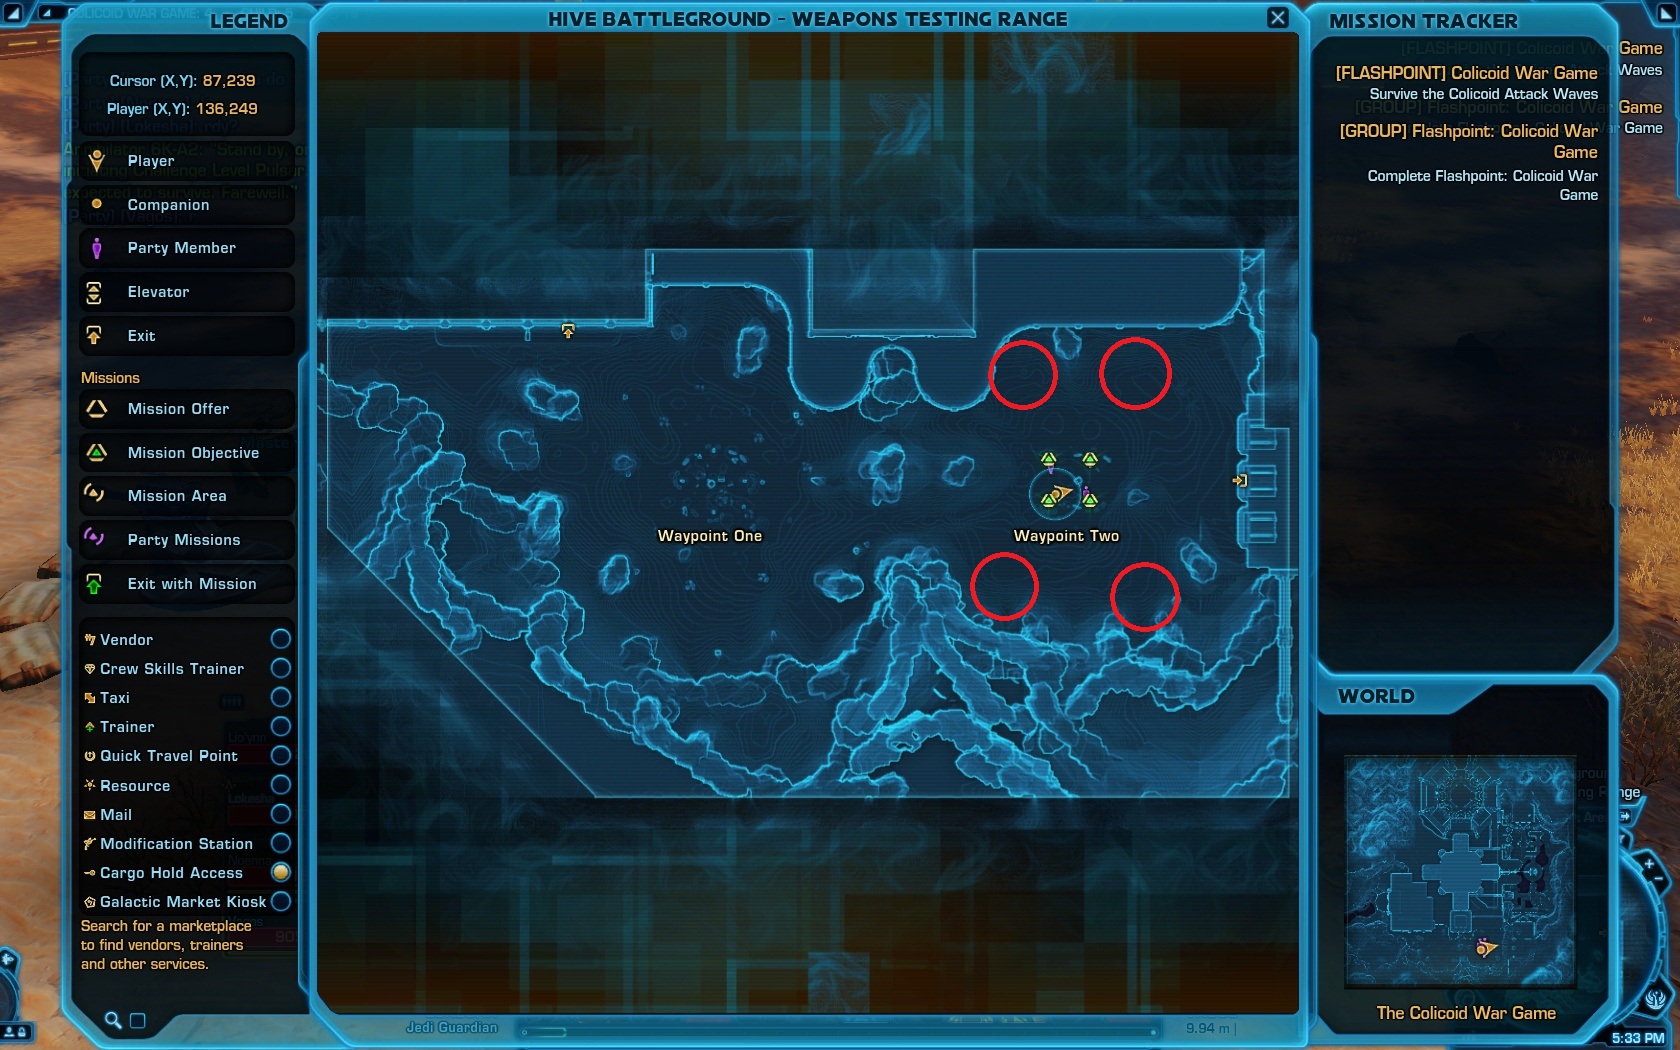
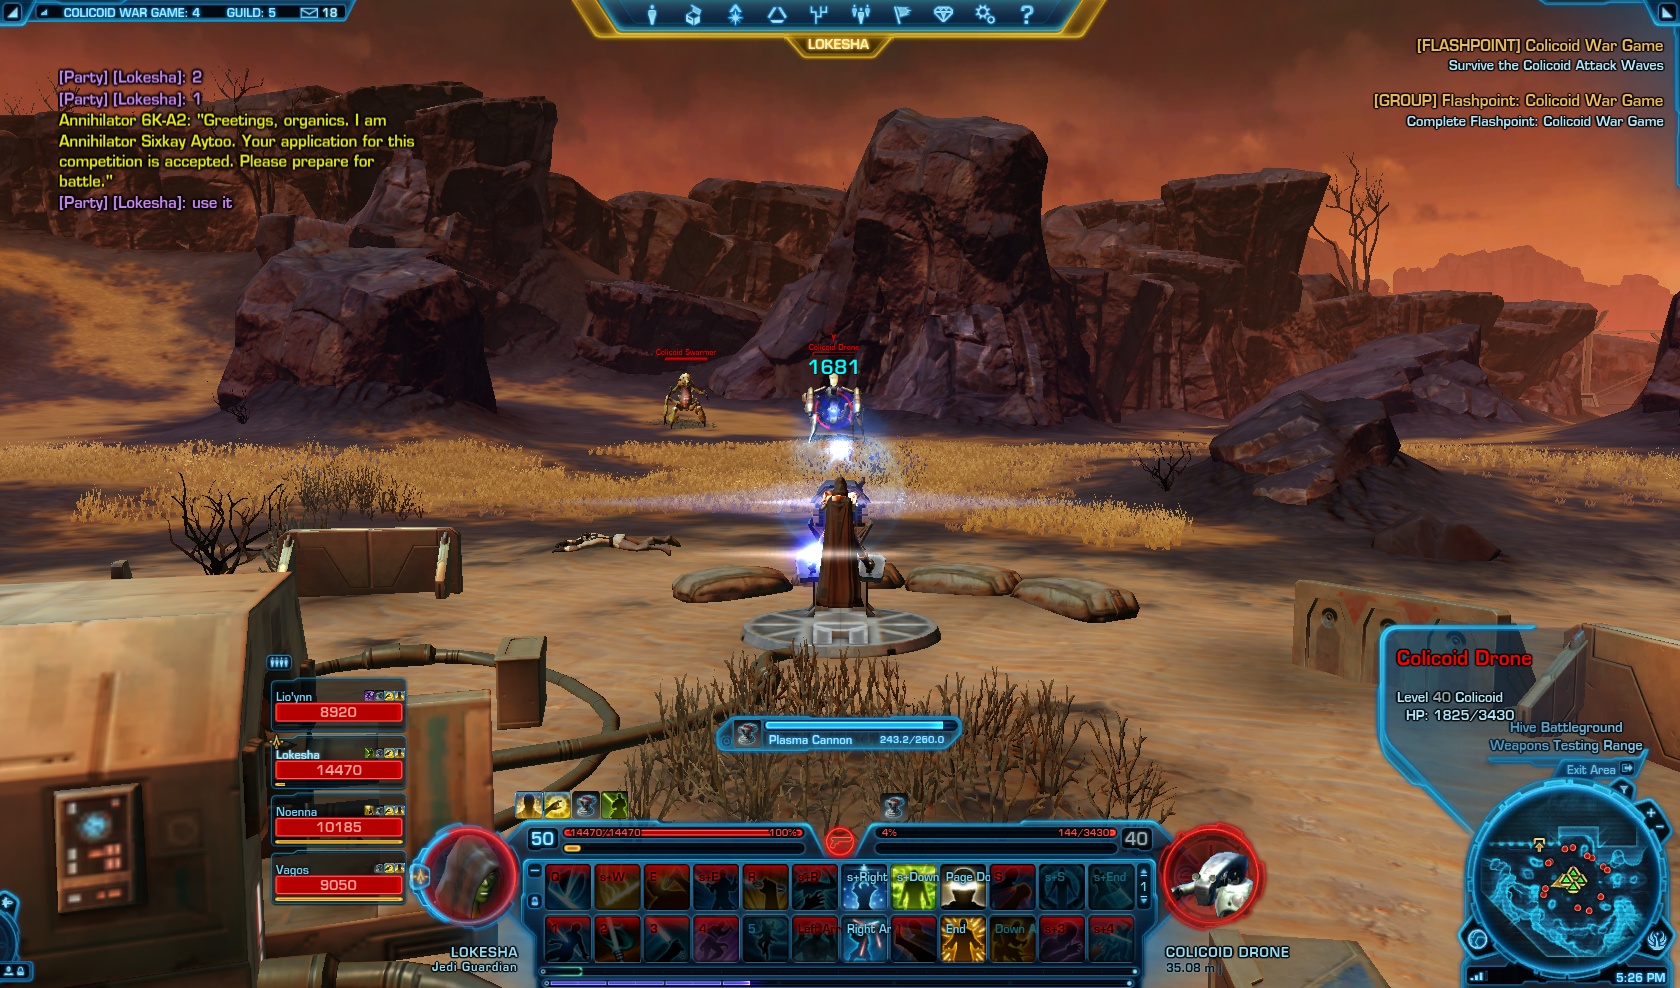
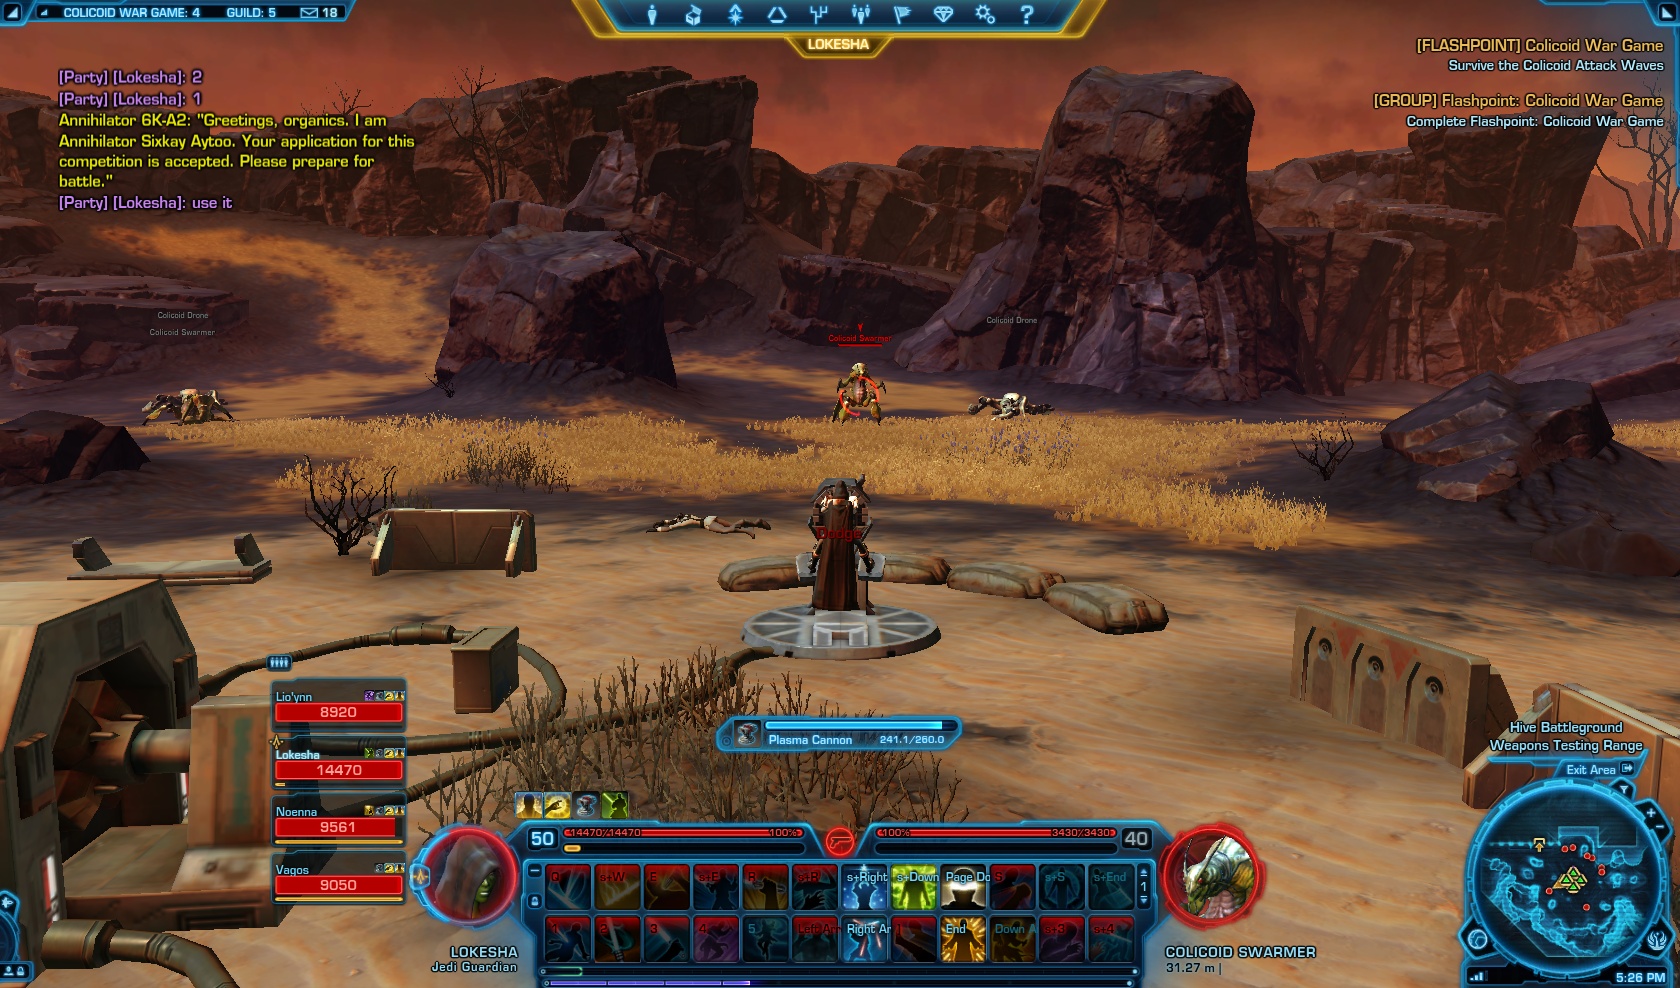
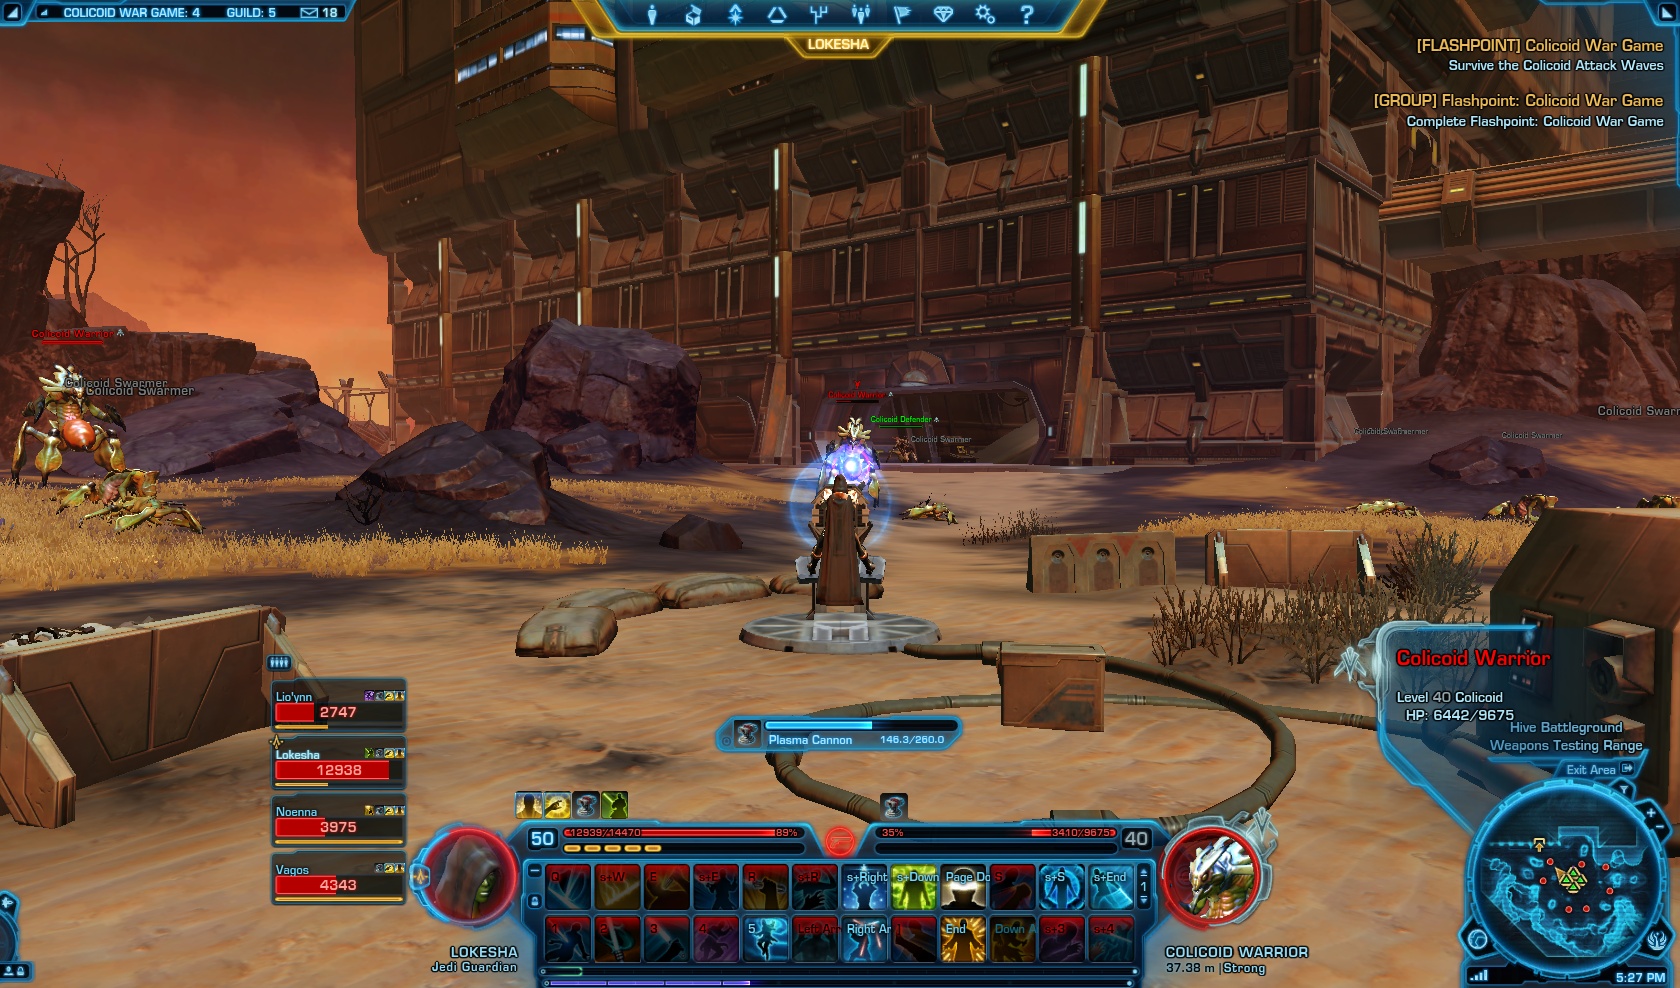
When you enter the Hive Battleground area there are 4 Plasma Cannon to use, so each of you can mount one. How to mount the Cannon? In fact, this is quite easy, just right click on it. Once you mount the Cannon, you have 260 sec before you are dismounted. The cannons fire automatically, you just have to aim at the mobs. The mobs always spawn at the same location, thus, the best practice is to aim and wait. Take down the Colicoid Drone mobs first. These Colicoids are ranged based; then switch to the melee ones -they are slow and can be killed before they reach you.In the first phase there are 8 spawn points with 2 Colicoids spawning at each point, basically there are 4 Colicoids per Cannon in each wave. During the second phase this number is reduced to 4 spawn points, but the number of Colicoids varies from 1 to 4.
-

- Map – Colicoid attack waves first phase

-

- Map – Colicoid attack waves second phase
There are two tactics for this phase:
- All party members mount up Cannons, when you start getting over-run and taking too much damage, your healer should mount off the Cannon and start healing everyone. You can still handle the mobs with 3 Cannons since they can rotate 360 degrees.
- Another tactic is to get the healer in the middle, while other group members are killing the Colicoids.
During the first phase there are three types of Colicoids ( vreme da se prezivi oko 260 sec , vreme trajanja mount Cannon abilitija , until de mount ) :
- Colicoid Swarmer: lvl 40 normal; Hp 3,430 melee
- Colicoid Drone: lvl 40 normal; Hp 3,430 range
- Colicoid Warrior: lvl 40 Strong; Hp 9,675 melee
-

- Colicoid Drone
-

- Colicoid Swarmer
-

- Colicoid Warrior
During the second phase, beside the above listed mobs, there is one additional mob:
- Colicoid Benemoth :lvl 40 Elite:Hp -21 485

Colicoid Benemoth

Potential Loot:
- Colicoid Blackguard’s Implant
- Medic Soldier’s Colicoid ChestplatePowered Colicoid Gauntlets
- Supreme Vanquisher’s Greaves
- Untouchable Saboteur’s Colicoid Gloves
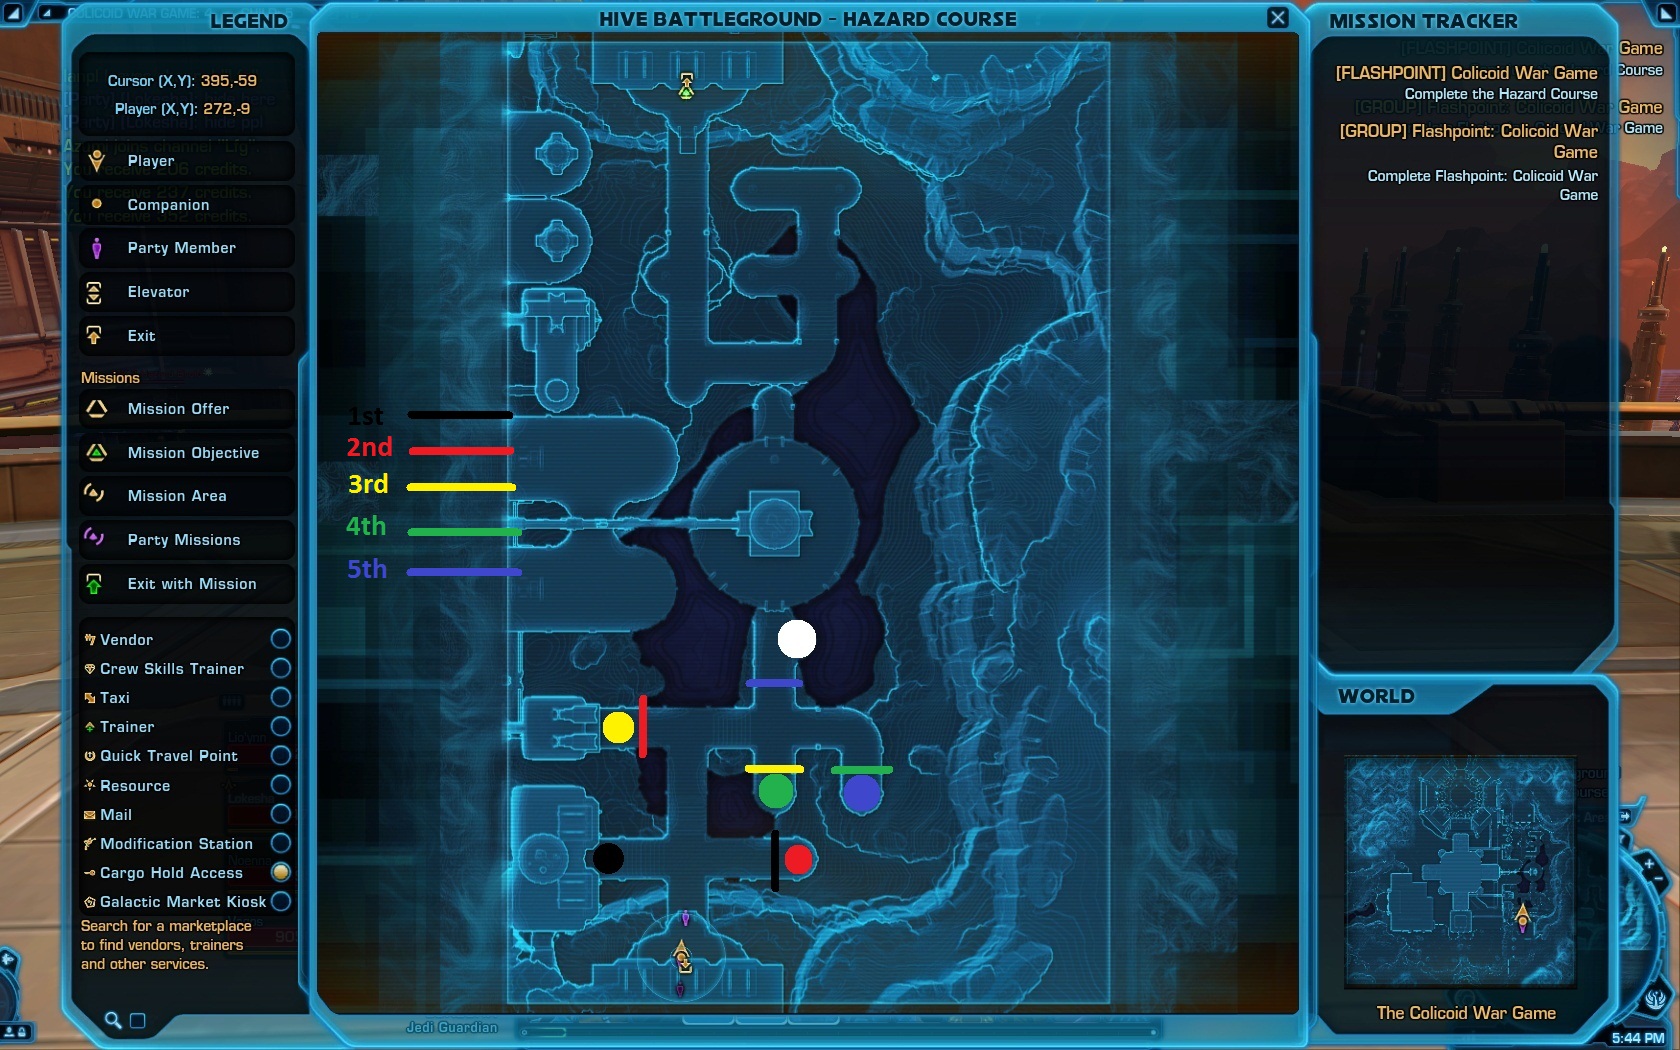
2. Complete the Hazard Course
There are five types of mobs in this part of the Flashpoint, but you should be more focus on how to solve the puzzle than how to defeat them.The mobs are:
- MK-X Hazard Droid, lvl 40 elite: 21 485 hp, strongly resistant to pushback. The MK-X Hazard Droids do knockback and will knock you down from the platform.
All party members should face their back to the wall. This droid patrols the area and has 2 minutes respawn timer.
MK-X Hazard Droid
- MK-1 Hazard Droid, lvl 40 strong :9 665 hp, no resistance to pushback

MK-1 Hazard Droid
- MK-2 Hazard Droid, lvl 40 elite: 22,735 hp

MK-2 Hazard Droid
- MK-3 Hazard Droid, lvl 40 champion: 68,205 hp

MK-3 Hazard Droid
- MK-4 Hazard Droid, lvl 40 champion: 101,285 hp

MK-4 Hazard Droid


How to solve the puzzle?
There are several Gate Controllers on each platform. By disabling the Gate Controller, you will open up the corresponding Force field, but if you interrupt the disabling process the Force field will be re-enabled. You have to go through the Maze, but it is important to disable the Gate Controllers in the proper order. The game is finished when you get to the last Forcefield and disable the Gate Controller behind it. That will bring down all the Forcefields.
Note: There is always an alternative route. If you have a Jedi Knight or some other class that can jump to the enemy, you can easily skip some steps and disable the last Gate Controller.
At the end of the first puzzle you will face two MK-4 Hazard Droids (champions). Try not to pull both at the same time. The second puzzle is pretty much the same thing.
-

- Map of the first puzzle
-

- Map of the second puzzle

Potential Loot:
- Chestplate of Nimble Deflection
- Dreadstalker’s Colicoid Earpiece
- Greaves of Nimble Deflection
- Hood of Animus Force
- Informant’s Colicoid Gloves
- Legionnaire’s Colicoid Helmet
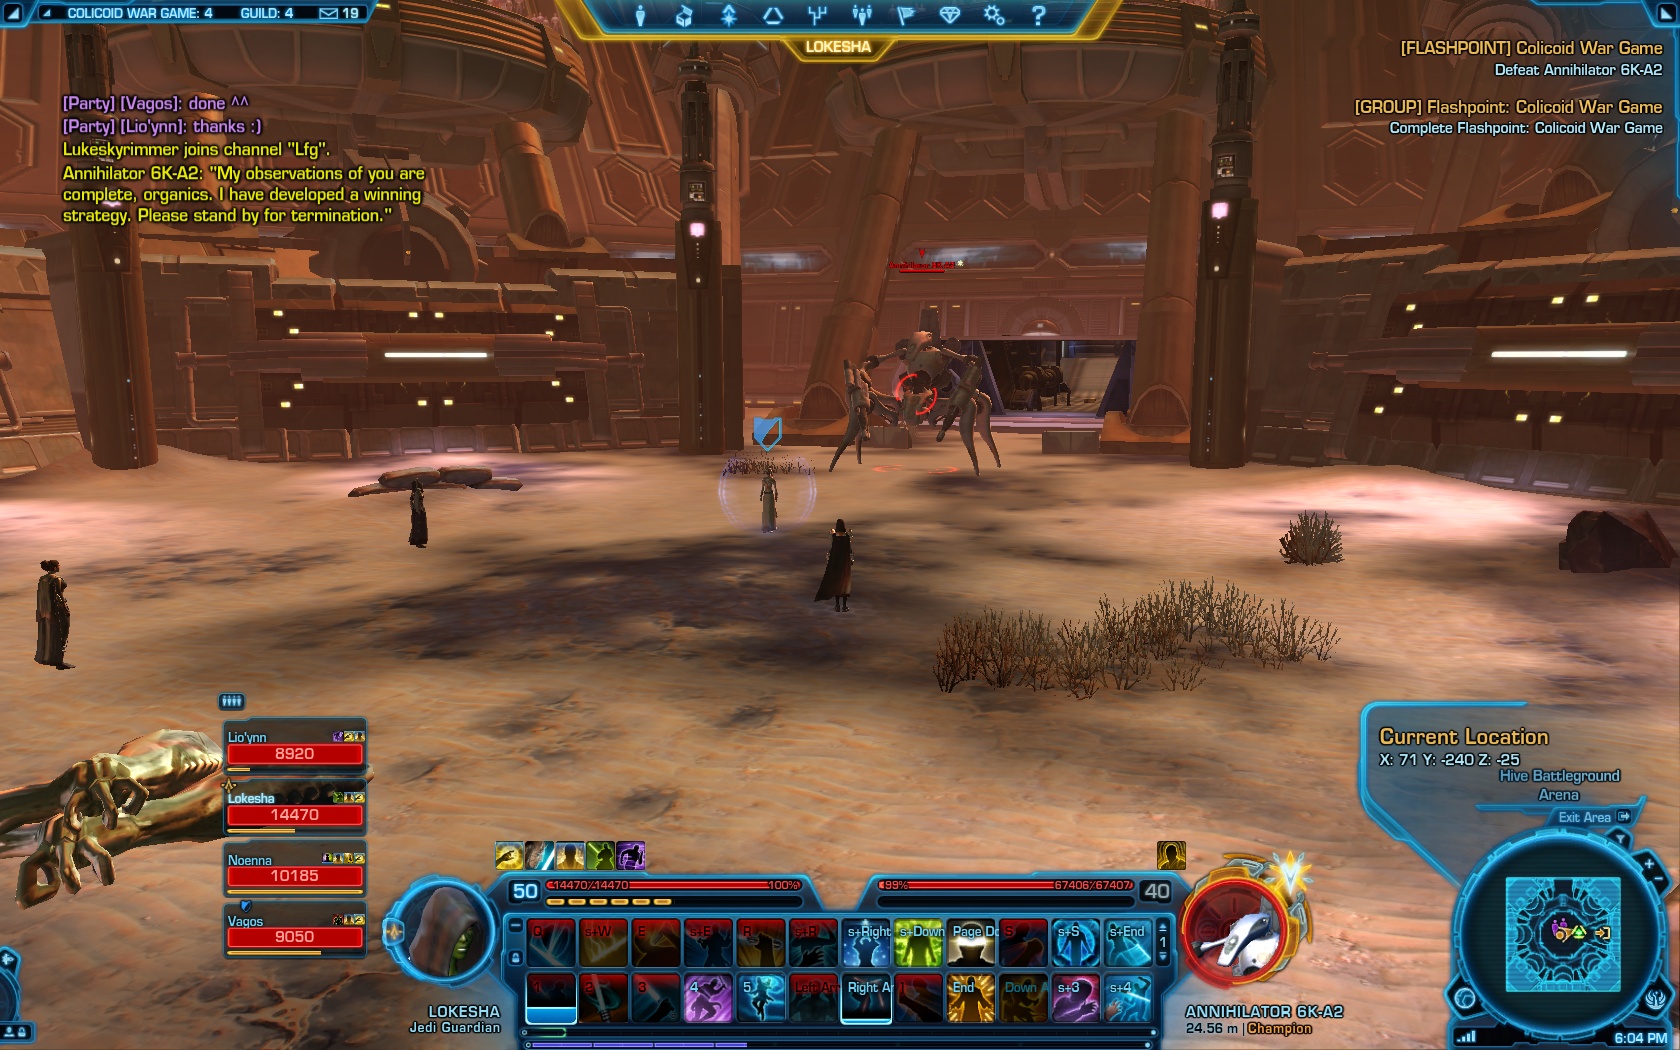
3. Annihilator 6K-A2
The last challenge is the Annihilator 6K-A2 boss located in a small arena. It is a level 40 champion with 67 407 hp. Before you can face the boss you have to defeat three Arena Beasts, champions level 40, 64 460 hp. After killing the third Arena Beast the final boss will spawn. Although this is the last boss, the fight is a simple tank and spank event.
-

- Annihilator 6K-A2
-

- Arena location

-

- Arena Beast

The boss has an AOE ability that is clearly marked on the ground when cast (red circles on the ground) and that can be cast beneath a random party member. All you have to do is move around to avoid the red circles.

Potential Loot:
- Colicoid Awareness Focus
- Colicoid Bastion Generator
- Colicoid Battle Cannon
- Colicoid Fusion Disruptor
- Colicoid Fusion Needler
- Colicoid Heavy Sonic Rifle
- Colicoid Might Generator
- Colicoid Perfection Generator
- Colicoid Power Blaster Rifle
- Colicoid Rancor-X Rifle
- Colicoid Searing Vibroknife
- Colicoid Sonic Interceptor
- Colicoid Stealth-X Sniper
- Colicoid Watchman Scattergun
- Focus of Animus Force
- Hood of Nightmares
- Informant’s Colicoid Jacket
- Legionnaire’s Colicoid Chestplate
- Lightsaber of Animus Force
- Night Hunter’s Colicoid Knife
- Powered Colicoid Chestplate
- Powered Colicoid Shield
- Resilient Crusader’s Colicoid Generator
- Saber Disciple’s Double-Saber
- Sorcerer’s Colicoid Focus
- Supreme Vanquisher’s Chestplate

Very nice job. Hope to see more Flashpoint guides soon.